

Home Inspection Checklist: Room-by-Room Guide for Buyers
Quick answer: A home inspection checklist covers 10 areas of a house, from the grounds and roof down to the foundation, plus the electrical, plumbing, and HVAC (heating, ventilation, and air conditioning) systems. Walk it outside first, then inside from the attic down. A professional inspection costs most buyers $300 to $500 and runs 2 to 4 hours. What the inspector finds becomes your bargaining power, but only until the inspection contingency window closes, usually 5 to 10 days after your offer is accepted.
What Is a Home Inspection Checklist?
A home inspection checklist is a room-by-room list of the systems and components a licensed inspector evaluates, organized so a buyer can follow along on inspection day or pre-screen a house before making an offer. Its scope mirrors the standards of practice published by ASHI (American Society of Home Inspectors) and InterNACHI (International Association of Certified Home Inspectors). The inspection is visual. Inspectors don’t open walls or move a seller’s furniture, which means a good list shows you where their job stops as clearly as where it starts.
How to Use This Home Inspection Checklist
To use this checklist, start at the lot line, circle the house, check the roof and attic, then work down floor by floor to the basement or crawl space. Inspectors call this the “Outside-In, Top-Down” method. It keeps you from missing the attic hatch hidden in a bedroom closet. Bring 4 tools: a flashlight, a phone camera, a plug-in GFCI (Ground Fault Circuit Interrupter) outlet tester, and a marble for checking floor slope.
Mark each item as pass or flag, and photograph every flag so you can match it to the written report later. On a 2,000-square-foot (186 m²) house, a buyer’s walkthrough takes about 45 minutes. Run a shortened version on every home you tour, and differences between 3 listings on the same street become obvious fast.
Grounds and Drainage Checklist
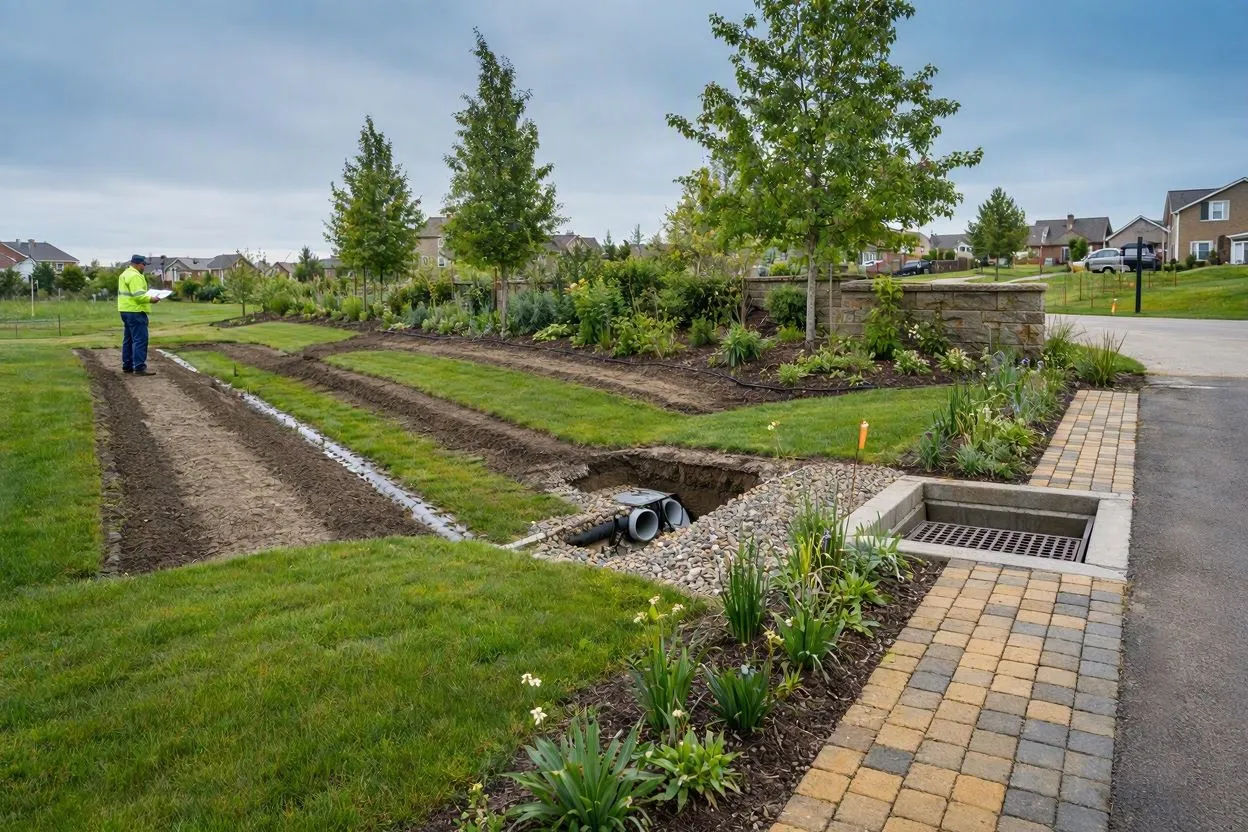
Check drainage first, because surface water is the leading cause of foundation and basement damage. Poor grading rarely looks dramatic. A flat strip of lawn against the foundation can soak a basement wall for years before a crack shows up inside.
- Soil slopes away from the foundation at least 6 inches (15 cm) over the first 10 feet (3 m)
- Downspouts discharge 3 to 5 feet (0.9 to 1.5 m) from the foundation
- Yard shows no standing water, soggy patches, or erosion channels
- Driveway, walkways, and patio pitch away from the house
- Tree branches clear the roof and the overhead electrical service wires
- Dead or leaning trees sit outside falling distance of the house
- Septic field shows no odor, wet spots, or unusually green grass
- Retaining walls stand plumb, with no bulges or cracks
- Fences and sheds show no rot or termite mud tubes
Deck and Porch
A safe deck is bolted to the house framing, rests on concrete footings, and has guardrails at least 36 inches (91 cm) high wherever the surface sits more than 30 inches (76 cm) above grade. Most deck collapses start at the ledger board. That’s why a nailed-only connection counts as a safety defect.
- Ledger board bolted, not nailed, and flashed where it meets the siding
- Posts rest on concrete footings instead of bare soil
- Baluster gaps under 4 inches (10 cm)
- Railing doesn’t sway when pushed firmly
- Stairs have a graspable handrail and even risers
Exterior Walls, Windows, and Doors Checklist
Siding and trim exist to keep water out of the wall cavity, so look for rot and missing flashing before worrying about faded paint. Brown streaks below a stucco window corner tell you more than a fresh coat of paint ever will.
- Wood siding sits at least 6 inches (15 cm) above the soil
- Siding boards aren’t cracked, loose, or swollen
- Brick and stone veneer show no stair-step cracks or crumbling mortar
- Stucco and EIFS (Exterior Insulation and Finish System) are sealed at every window and penetration, with no bulges
- Caulk runs continuously around windows, doors, and hose bibs
- Flashing or drip caps sit above windows and doors
- Glass isn’t cracked, fogged between panes, or missing screens
- Exterior doors close, latch, and seal against drafts
Fogged double-pane glass means the seal has failed and the insulating gas has escaped. The fix is a new glass unit, not a whole new window.
Roof, Gutters, and Chimney Checklist
A roof passes when shingles lie flat and flashing seals every penetration, with no more than 2 layers of roofing installed. Ask the seller for the install date before inspection day. A 22-year-old asphalt roof rated for 25 years belongs in your budget even if it looks fine from the driveway.
- Shingles aren’t curled, cupped, cracked, or missing
- Granule loss is minimal (check downspout outlets for sand-like buildup)
- Flashing is sealed at chimneys, vents, skylights, and wall intersections
- Nail heads aren’t exposed, and heavy roofing-tar patches are absent
- Gutters are attached, pitched toward downspouts, and free of rust
- Chimney stands straight, with a secured cap and an intact crown
- Masonry chimney joints show no loose bricks or eroded mortar
Foundation, Basement, and Crawl Space Checklist
Vertical hairline cracks under 1/8 inch (3 mm) wide are usually concrete shrinkage, while horizontal cracks and bowing walls signal structural movement that needs a structural engineer. Foundation repairs average about $5,000. Some run far higher once piers or wall anchors enter the quote.
- Foundation walls stand plumb, with no horizontal cracks
- Crack edges sit flush, with no offset between the two sides
- Basement walls show no white, powdery efflorescence or water lines
- Framing smells dry and shows no active mold
- Floor joists and beams aren’t sagging, rotted, or notched
- Sill plate is anchored to the foundation with bolts
- Sump pump runs and discharges well away from the house
Crawl Space
Crawl space inspection focuses on moisture, pests, and framing condition, since problems there stay hidden from anyone walking the rooms above. An inspector who can’t enter the crawl space writes “not inspected” in the report. Treat that line as unfinished business, and schedule a return visit before your contingency expires.
- Vapor barrier covers the entire soil floor
- Insulation between joists is dry and attached
- Standing water, termite mud tubes, and rodent droppings are absent
- Vents are open on a vented design, or the space is sealed and dehumidified on an encapsulated one
- Piers and beams show no rot or sinking
Attic and Insulation Checklist
The attic reveals roof leaks before ceilings do, so check the underside of the roof deck for stains and confirm that no exhaust fan vents into the attic space. Gray-brown, pebble-like vermiculite insulation deserves special attention. The Libby, Montana, mine supplied most US vermiculite before 1990, and its product may contain asbestos, so leave it undisturbed and order testing.
- Rafters and roof sheathing show no water stains or dark mold spotting
- Insulation is evenly spread and rated R-38 to R-60 for most US climate zones
- Ventilation provides 1 square foot (0.09 m²) of vent area per 150 square feet (14 m²) of attic floor
- Soffit vents aren’t buried under insulation
- Bathroom and dryer vents terminate outdoors
- Wiring has no open splices, and every junction box has a cover
Electrical System Checklist
The electrical system passes when the panel has adequate capacity and GFCI protection covers every wet location. Some insurers refuse to write a policy on a house with an original Federal Pacific panel. Replacement typically costs $1,500 to $4,000, which is why a flagged panel belongs in your repair request.
- Service is rated at least 100 amps (200 amps is standard in newer homes)
- Panel shows no rust, scorch marks, or double-tapped breakers
- Panel isn’t a Federal Pacific Stab-Lok or Zinsco model
- Circuits are labeled
- GFCI outlets sit within 6 feet (1.8 m) of sinks and in bathrooms, garages, outdoor locations, and unfinished basements
- AFCI (Arc Fault Circuit Interrupter) breakers protect bedroom circuits in newer or renovated homes
- Outlets test as grounded, with correct polarity
- Knob-and-tube wiring and unrepaired aluminum branch wiring are absent
- Extension cords aren’t used as permanent wiring
Plumbing and Water Heater Checklist
Healthy plumbing delivers a steady 40 to 80 psi (276 to 552 kPa) of pressure and drains without gurgling or backing up. Run the shower and flush the toilet at the same time. A visible pressure drop points to clogged or undersized supply lines.
- Main water shutoff is located and turns freely
- Sinks, toilets, and the water heater show no leaks
- Hot water measures about 120°F (49°C) at the tap and stays below 125°F (52°C)
- Tank water heater is under 10 years old (the serial number encodes the date)
- TPR (Temperature and Pressure Relief) valve discharge pipe ends within 6 inches (15 cm) of the floor
- Gas water heater vent slopes upward, with sealed joints
- Polybutylene (gray plastic) supply lines and corroded galvanized steel pipes are absent
- Drain lines slope correctly and show no patched sections
- Private well water has been tested for bacteria and nitrates, if the home uses a well
HVAC Checklist
An HVAC system passes when it heats and cools every habitable room evenly and the equipment sits inside its expected lifespan. Inspectors skip cooling tests when outdoor air is below 65°F (18°C), because running an air conditioner in cold weather can damage the compressor.
- Furnace or heat pump responds to the thermostat within a few minutes
- Cooling supply air measures 15 to 20°F (8 to 11°C) below the return air
- Air filter is clean and correctly sized
- Furnace cabinet shows no soot, rust, or gas odor
- Flue pipe rises toward the chimney with no open seams
- Ductwork is connected and insulated in unconditioned spaces
- Outdoor condenser sits level, with 2 feet (0.6 m) of clearance from plants
- Each habitable room has a heat source
- Service records cover the last 12 months
Kitchen and Bathroom Checklist
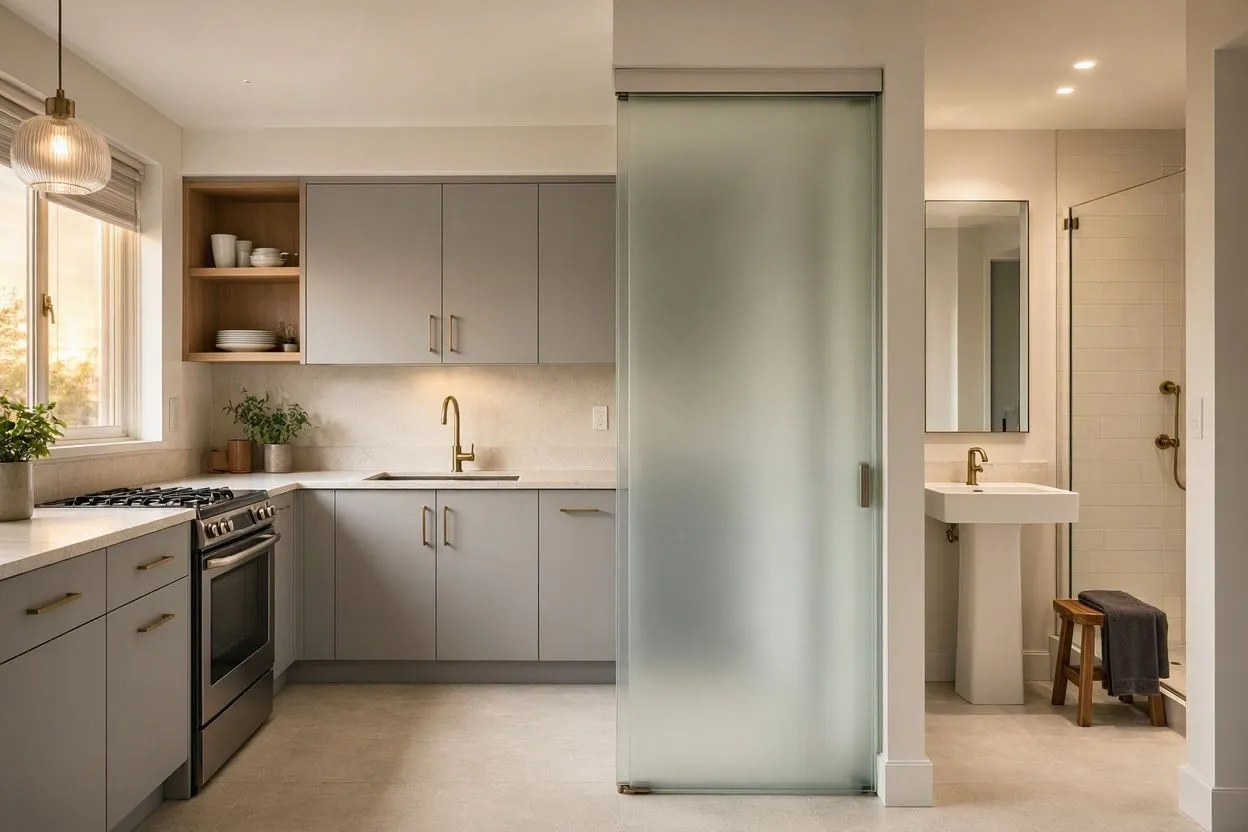
Kitchens and bathrooms hide more leaks than any other rooms, so open every sink cabinet and run each fixture for 2 minutes. Press on the tile walls around a tub. Soft spots mean water has already reached the backer board.
Kitchen:
- Range, oven, dishwasher, and disposal all operate
- Range has an anti-tip bracket
- Exhaust hood vents outdoors or recirculates through a working filter
- Cabinet floor under the sink is solid and dry
- Dishwasher drain has a high loop or air gap
Bathrooms:
- Exhaust fan vents outdoors
- Toilet sits firm, with no rocking and no stains at the base
- Tub and shower caulk and grout are intact
- Hot water runs on the left tap and cold on the right
- Drains empty without slowing
Interior Rooms and Safety Devices Checklist
Inside the living spaces, look for signs of structural movement or water entry, then confirm that every required smoke and carbon monoxide (CO) alarm works. Diagonal cracks running from the corners of door frames are the classic giveaway of settling. Doors that stick only in summer point to seasonal soil movement.
- Floors feel level (a marble that rolls quickly signals slope)
- Walls show no diagonal cracks at door and window corners
- Doors and windows open, close, and latch
- Ceilings show no stains, especially below bathrooms
- Outlets and switches work in every room
- Stair handrails stand 34 to 38 inches (86 to 97 cm) high and hold firm
- Smoke alarms sit in every bedroom, outside sleeping areas, and on each level
- CO alarms cover each level in homes with fuel-burning appliances or an attached garage
- Fireplace damper opens, and the firebox shows no cracks
- Garage door reverses when it meets an obstruction
- Bedroom windows open wide enough for emergency escape
Home Inspection Checklist by the Year a House Was Built
The build year tells you which hidden problems to add to the checklist, because each construction era used materials that later failed or were banned.
| Year built | Add to your checklist | Why it matters |
| Before 1940 | Knob-and-tube wiring, clay sewer pipe | Wiring is ungrounded; clay sewer lines crack from root intrusion |
| 1945 to 1972 | Orangeburg sewer pipe | Tar-paper pipe deforms and collapses underground |
| 1950s to 1980s | Federal Pacific and Zinsco panels | Breakers can fail to trip during an overload |
| 1965 to 1973 | Aluminum branch wiring | Connections loosen and overheat |
| Before 1978 | Lead-based paint | Residential lead paint was banned in 1978 |
| Before 1980s | Asbestos pipe wrap, popcorn ceilings, vermiculite | Fibers release when material is disturbed |
| 1978 to 1995 | Polybutylene supply pipe | Pipe and fittings crack without warning |
| Before 1986 | Lead service lines and lead solder | Lead in drinking-water plumbing was banned in 1986 |
| 1990s onward | CSST (Corrugated Stainless Steel Tubing) gas line | Needs electrical bonding to resist lightning damage |
| Under 1 year old | 11-month builder warranty inspection | Defects must be documented before the warranty ends |
A house built in 1970 can check at least 4 of these boxes at once: lead paint, lead solder, Orangeburg sewer pipe, and aluminum wiring.
How Long Do Major Home Systems Last?
Most major home systems last 10 to 30 years, so each system’s age matters as much as its condition on inspection day. A 14-year-old air conditioner and a 10-year-old water heater in the same house add roughly $7,000 to $13,000 of near-term replacement cost.
| System | Typical lifespan | Start budgeting at |
| Asphalt shingle roof | 20 to 30 years | 18 years |
| Metal roof | 40 to 70 years | 35 years |
| Tank water heater | 8 to 12 years | 8 years |
| Tankless water heater | About 20 years | 15 years |
| Gas furnace | 15 to 20 years | 15 years |
| Central air conditioner | 12 to 15 years | 10 years |
| Heat pump | 10 to 15 years | 10 years |
| Sump pump | 7 to 10 years | 7 years |
| Cast iron drain and sewer pipe | 50 to 75 years | 50 years |
| Concrete septic tank | 40 years or more | Pump every 3 to 5 years |
What Does a Standard Home Inspection Not Cover?
A standard home inspection excludes sewer lines, radon, mold sampling, wood-destroying insects, pools, and septic systems, so each one requires a separate specialty inspection. Radon is the one to order on every purchase. The EPA (Environmental Protection Agency) recommends mitigation at 4 pCi/L (148 Bq/m³) or higher, and a mitigation system typically costs $800 to $2,500.
| Specialty inspection | Typical cost | When to order it |
| Sewer scope | $150 to $300 | Home is over 25 years old, or mature trees grow near the sewer line |
| Radon test | $100 to $250 | Every purchase, especially homes with basements |
| Termite / WDO (Wood-Destroying Organism) | $75 to $150 | Southern and coastal states, or when the lender requires it |
| Mold testing | $300 to $1,000 | Musty odor with no visible source, or past water damage |
| Pool and spa | $200 to $400 | Any in-ground pool or hot tub |
| Septic | $300 to $600 | Any home not connected to municipal sewer |
| Reinspection | $100 to $200 | After the seller completes negotiated repairs |
Where Location Changes the Checklist
Location changes the checklist in 5 main US regions, because climate and state insurance rules add inspections that a national list leaves out.
- Southeast and Gulf Coast: Termite activity and moisture trapped behind stucco top the list, and many lenders there require a WDO report.
- Florida: Insurers often require a 4-point inspection (roof, electrical, plumbing, HVAC) on homes older than 30 years, while a wind mitigation report can lower windstorm premiums.
- Texas and Colorado: Expansive clay soils move foundations, so check for doors that stick seasonally and cracked slab floors.
- Upper Midwest and Northeast: Radon levels run high in many counties, and ice dams and frozen pipes cause winter damage.
- California: State law requires water heaters to be strapped against earthquakes, and older homes need foundation bolting.
Rural buyers anywhere should add a private well and septic evaluation.
Checklist Changes for New Construction, Condos, and Manufactured Homes
New construction, condos, and manufactured homes each need a modified checklist, because the builder, the HOA (Homeowners Association), or the HUD (Department of Housing and Urban Development) code shifts responsibility for repairs.
New Construction
New homes need 3 phase inspections: pre-drywall, final walkthrough before closing, and an 11-month inspection before the 1-year builder warranty expires. City code inspectors check minimum compliance, not workmanship. Missing insulation and incomplete window flashing are two defects third-party inspectors catch regularly in brand-new houses.
Condos and Townhomes
A condo inspection covers the unit’s interior systems, while the HOA maintains the roof, exterior walls, and shared structure. Read the HOA reserve study and the last 12 months of board minutes. A thin reserve fund today often becomes a special assessment next year.
Manufactured Homes
Manufactured homes need a HUD data plate and certification label, plus a check of the tie-downs and piers. Homes built before June 15, 1976, predate the HUD code, and most lenders won’t finance them.
How FHA and VA Loans Change the Inspection
FHA (Federal Housing Administration) and VA (Department of Veterans Affairs) loans don’t require a home inspection, but their appraisals enforce minimum property requirements that can force repairs before closing. Peeling paint in a pre-1978 home is a common trigger. FHA appraisers flag missing stair handrails as well, and an FHA roof must have at least 2 years of remaining life. VA appraisers check that the heating, water supply, and electrical systems are safe and working. Neither appraisal replaces a full inspection, since an appraiser won’t crawl through the attic or test every outlet.
How Much Does a Home Inspection Cost, and How Long Does It Take?
A standard home inspection costs $300 to $500, averages about $343 nationally, and takes 2 to 4 hours on site. Square footage drives the price. Condos under 1,000 square feet (93 m²) can come in near $200, while homes over 2,000 square feet (186 m²) usually run $400 or more. The buyer pays at the time of service, and the fee isn’t refunded if the deal falls apart.
Reports arrive within 24 to 48 hours. Plan to attend the final 30 to 60 minutes, when the inspector walks you through the findings in person and you can ask where the main water shutoff and electrical panel are located.
How to Sort Inspection Findings by Severity
To sort the report, place every finding in 1 of 3 tiers and negotiate only the top 2. A 60-page report with 90 items isn’t a disaster. Most of those items are routine upkeep.
| Tier | Examples | What to do |
| Safety hazard | Missing GFCI near sinks, Federal Pacific panel, gas leak, radon above 4 pCi/L (148 Bq/m³) | Require repair by a licensed contractor before closing |
| Major defect | Horizontal foundation crack, active roof leak, failing sewer line, HVAC past its lifespan | Request repair, a credit, or a price cut, backed by a contractor quote |
| Maintenance item | Worn caulk, dirty air filter, loose cabinet hinge, minor grading | Fix after move-in rather than spending negotiating goodwill |
What to Do After You Get the Inspection Report
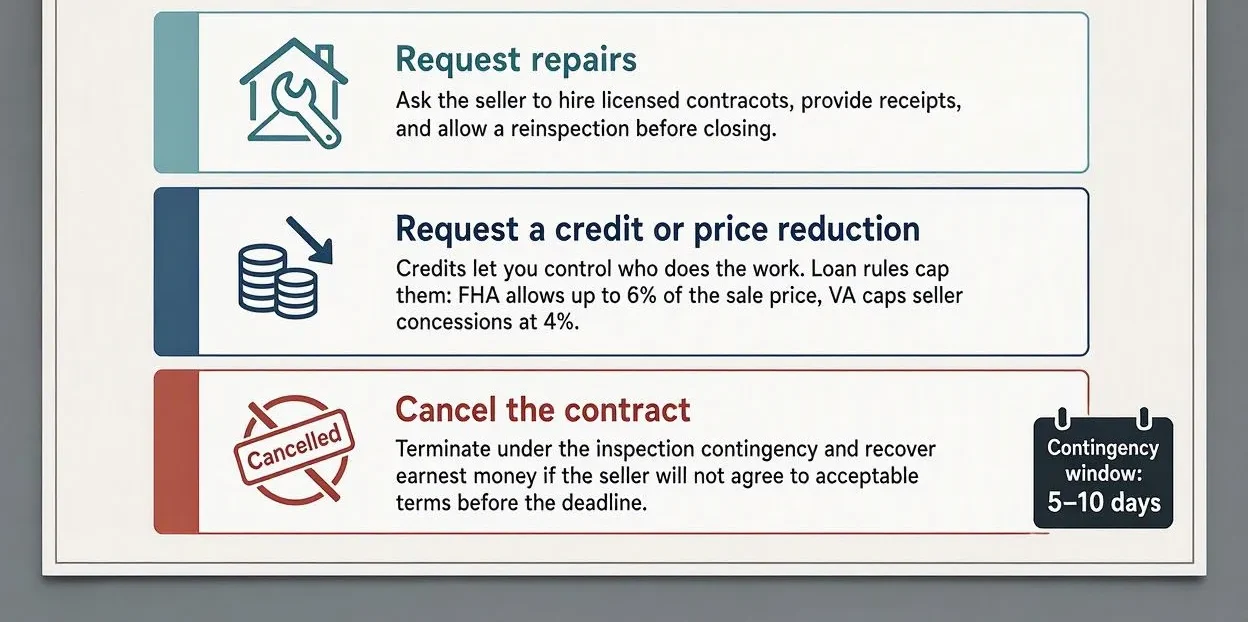
You can respond to the report in 3 ways, and each response must happen before the contingency deadline, typically 5 to 10 days after offer acceptance.
- Request repairs. Ask the seller to hire licensed contractors, provide receipts, and allow a reinspection before closing.
- Request a credit or price reduction. Credits let you control who does the work. Loan rules cap them: FHA allows up to 6% of the sale price, VA caps seller concessions at 4%, and conventional loans allow 3% to 9% depending on your down payment.
- Cancel the contract. Walking away under the inspection contingency returns your earnest money deposit.
Focus requests on safety hazards and major defects. Sellers push back hard on a list of 40 cosmetic fixes, and two well-documented foundation or roof items carry more weight.
Conclusion
A home inspection checklist works best when you use it twice: once on your own before the offer, and again beside the inspector on inspection day. Start outside and move from the attic down. Weigh each system’s age alongside its condition, and add the specialty tests your region and build year call for. Then sort the report into safety hazards, major defects, and maintenance items. Only the first two belong in your repair request, and they need to reach the seller before the contingency deadline passes.
FAQs

Michael Reynolds
Michael Reynolds leads ImmigrationWin’s immigration, visa, and global mobility content division. He specializes in researching immigration policies, visa requirements, application processes, and international relocation pathways for individuals, families, students, and professionals. With extensive experience analyzing immigration regulations and official government guidance, Michael brings a research-driven approach to complex immigration topics and changing visa policies. He is the primary author of ImmigrationWin’s visa guides, immigration resources, and country-specific content, helping readers better understand their options and make informed decisions about their international journey.
Related Posts