

The Complete Home Buying Checklist for 2026
Buying a home involves more steps than most first-time buyers expect: financial checks, mortgage approval, inspections, offers, and legal paperwork, each with its own deadlines and documents. Miss one, and you risk losing a deposit, missing a hidden repair, or delaying closing by weeks. This checklist walks through every stage in order, with country-specific rules for buyers in the US, UK, Canada, Australia, and Europe, so you always know what to do next.
What Is a Home Buying Checklist?
A step-by-step guide through every stage of purchasing property, from budgeting to move-in day: financial preparation, mortgage approval, house hunting, inspections, legal paperwork, and closing. Buyers across the US, UK, Canada, Australia, and Europe use some version of it to avoid missed deadlines, unexpected fees, and legal gaps during one of the largest purchases of their lives.
It removes guesswork. It tells you what to do first, what documents to gather, and which professionals to contact at each stage. Skipping steps costs money later. A missed inspection can hide a $15,000 roof repair. A missed pre-approval step can lose you a property to a faster buyer.
Step 1: Check Your Financial Readiness
Checking your finances comes before browsing listings or contacting an agent, not after. Lenders assess three things: income stability, existing debt, and credit history.
Debt-to-Income (DTI) Ratio and Credit Score
Your Debt-to-Income (DTI) ratio determines how much mortgage you qualify for. US lenders typically cap DTI at 43%. Canadian lenders split this into two separate ratios: Gross Debt Service (GDS) at 35% and Total Debt Service (TDS) at 42%. UK and Australian lenders run similar affordability checks but lean more heavily on income multiples, often 4 to 4.5 times annual salary, than on a single DTI figure.
Credit score requirements vary by country and loan type:
- US conventional loans require a minimum score of 620.
- FHA loans in the US accept scores as low as 580.
- Canadian lenders generally want 650 or higher for a conventional mortgage.
- UK lenders check credit history through Experian, Equifax, or TransUnion, with no universal minimum score.
- Australian lenders use a comprehensive credit report and prefer scores above 600.
If it’s been more than six months since you last checked your credit report, pull it again before applying for pre-approval. Errors are common, and disputing them early saves you from delays once you’re already deep in the offer stage.
Step 2: Save for Your Down Payment
A down payment is the upfront cash portion of a home’s purchase price, separate from the mortgage loan itself. How much you need depends on your country, your loan type, and the home’s price.
How Much Down Payment Do You Need?
Minimum down payment requirements by country:
- United States: 3% for conventional loans, 3.5% for FHA loans, 0% for VA and USDA loans.
- Canada: 5% on homes under $500,000, with a tiered structure above that.
- United Kingdom: 5% to 10% for first-time buyers, though some lenders ask for 15%.
- Australia: 5% to 20%, with Lenders Mortgage Insurance (LMI) added if you put down less than 20%.
- Europe (varies by country): Germany and France commonly require 20%, while Spain and Portugal often ask non-resident buyers for 20% to 30%.
Put down less than 20% in most of these markets and you’ll trigger mortgage default insurance. That protects the lender, not you, and it adds hundreds of dollars to your monthly payment.
Down Payment Assistance by Country
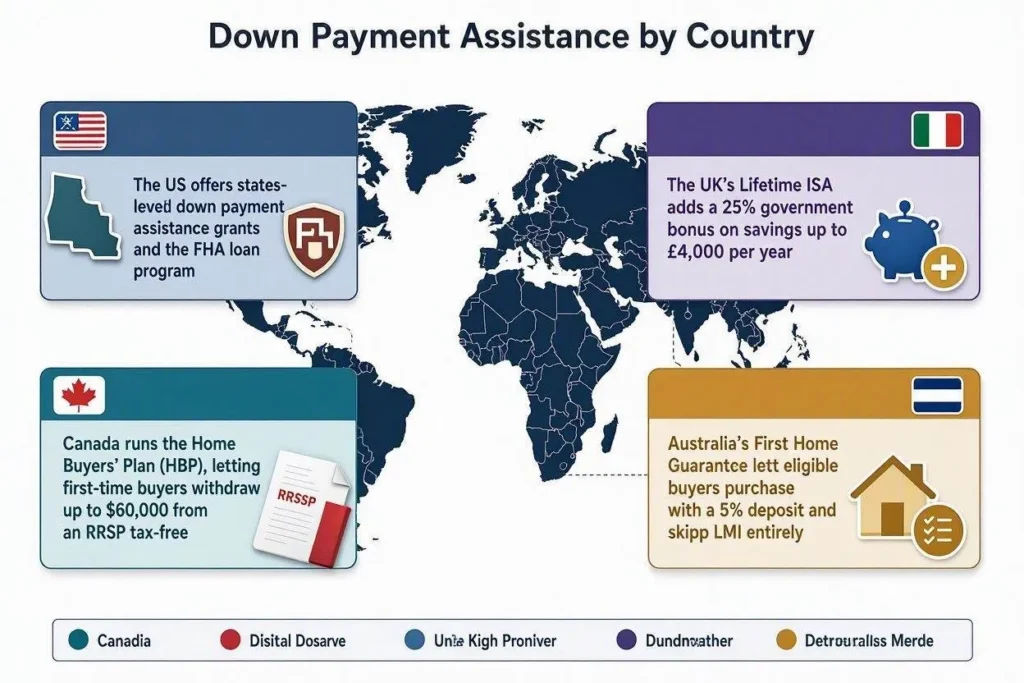
Government programs can shrink the amount you need to save:
- The US offers state-level down payment assistance grants and the FHA loan program.
- Canada runs the Home Buyers’ Plan (HBP), letting first-time buyers withdraw up to $60,000 from an RRSP tax-free.
- The UK’s Lifetime ISA adds a 25% government bonus on savings up to £4,000 per year.
- Australia’s First Home Guarantee lets eligible buyers purchase with a 5% deposit and skip LMI entirely.
Check eligibility directly through your country’s housing authority website. Income caps and property price limits shift every year, so don’t rely on old numbers.
Step 3: Get Mortgage Pre-Approval
Mortgage pre-approval is a lender’s written confirmation of how much you can borrow, based on your income, debt, and credit. Get this sorted before you tour a single home if you want sellers to take your offer seriously.
Most countries ask for four documents: recent pay stubs, two years of tax returns, bank statements from the past three months, and government-issued photo ID. Self-employed buyers need more paperwork on top of that, including profit-and-loss statements and business bank records.
Fixed-Rate vs. Variable-Rate Mortgages
A fixed-rate mortgage locks your interest rate for the full loan term, so your payment stays the same no matter what the market does. A variable-rate mortgage moves with the market instead, starting lower but carrying the risk of increases down the road.
Planning to stay in the home longer than seven years and want predictable payments? Go fixed. Expect rates to drop, or planning to sell within three to five years? Variable is worth considering.
Step 4: Define Your Must-Haves and Nice-to-Haves
Separate non-negotiable features from optional extras before you start touring properties. Write two lists.
Must-haves typically include:
- Minimum number of bedrooms and bathrooms
- Proximity to work, school, or public transit
- Structural soundness and updated electrical systems
Nice-to-haves typically include:
- A finished basement or garage
- A larger backyard or outdoor space
- An open-concept kitchen layout
This split keeps you from overspending on features you don’t actually need, and from walking away from a solid property over something minor.
Step 5: Hire a Real Estate Agent
A licensed real estate agent gives you access to listings, negotiates price on your behalf, and manages paperwork deadlines. Interview at least three before choosing one; the first agent you meet isn’t necessarily the right fit.
Ask each candidate:
- How many years have you worked with first-time buyers?
- How familiar are you with this specific neighbourhood?
- What’s your commission structure, and who pays it?
- Can you provide three references from recent clients?
- How many active listings are you currently juggling?
In the US, commission structures shifted after the 2024 National Association of Realtors (NAR) settlement. Buyers now sign a written agreement with their agent before touring homes, so confirm this directly if you’re buying in the US in 2026.
Step 6: Research the Neighbourhood
Check schools, crime rates, commute times, and future development plans before committing to a location. Visit the area at three different times: a weekday morning, a weekday evening, and a weekend afternoon. Traffic, noise, and parking availability change more than you’d expect between these windows.
Check these directly rather than trusting the listing:
- School ratings, if you have children or plan to
- Crime statistics through local police department websites
- Planned zoning changes or new construction nearby
- Flood risk and climate exposure through government flood maps
- Distance to grocery stores, hospitals, and public transit
Climate and flood risk disclosure is now a legal requirement in parts of the US, UK, and Australia. If it isn’t already included in the listing, ask your agent for it.
Step 7: Start House Hunting
Tour properties within your pre-approved budget and compare them against your must-have list. Bring a printed or digital checklist to every showing, and take photos of each room. After the fifth or sixth house, they all start to blur together.
Red Flags to Watch During Showings
Watch for:
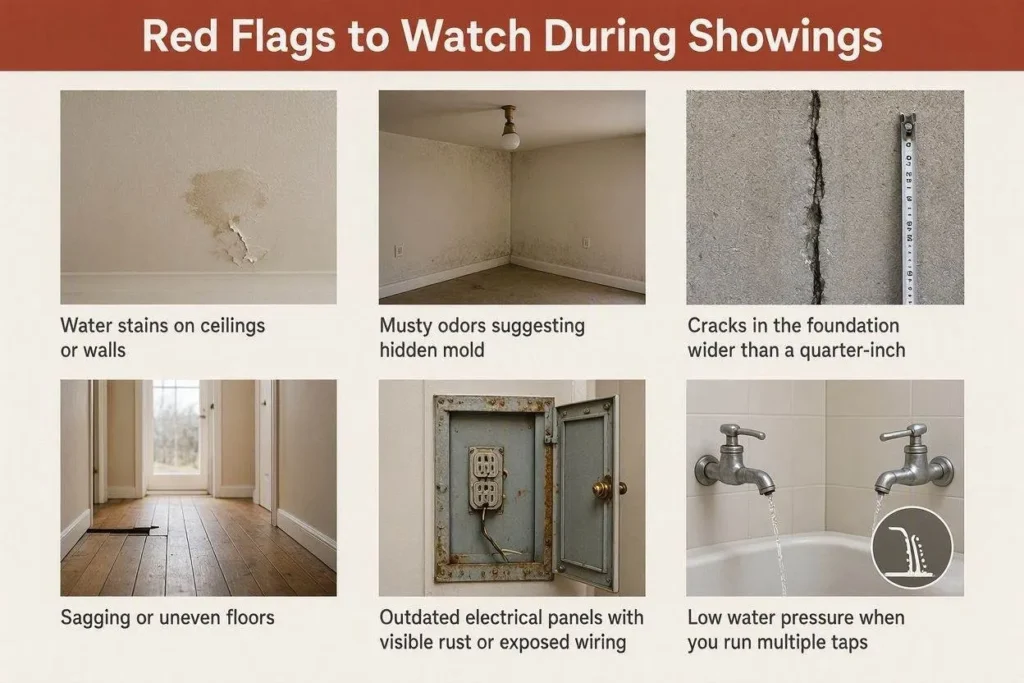
- Water stains on ceilings or walls
- Musty odors suggesting hidden mold
- Cracks in the foundation wider than a quarter-inch
- Sagging or uneven floors
- Outdated electrical panels with visible rust or exposed wiring
- Low water pressure when you run multiple taps
Test the water pressure yourself; don’t wait for the agent to offer. A weak flow in the shower often means aging pipes, and those cost thousands to replace.
Step 8: Schedule a Home Inspection
A home inspection is required before finalizing most offers, and skipping it risks thousands of dollars in hidden repair costs. A licensed inspector examines the roof, foundation, plumbing, electrical systems, and HVAC unit, then delivers a written report within 24 to 48 hours.
Once you have that report, you have three options:
- Ask the seller to repair major defects before closing.
- Request a price reduction equal to the estimated repair cost.
- Walk away entirely, if your offer included an inspection condition.
For homes more than 40 years old, order a separate inspection. Standard inspections don’t always cover septic systems, well water, or asbestos testing, and those are exactly the things that bite older properties.
Step 9: Make an Offer
An offer is a written proposal stating your price and the conditions attached to it. Your agent drafts it and submits it to the seller’s agent, who accepts, rejects, or counters.
Conditional vs. Firm Offers
A conditional offer includes contingencies, like financing approval or a satisfactory inspection, that must be met before the sale becomes binding. A firm offer skips the contingencies entirely, which makes it more attractive to sellers and considerably riskier for you.
Go conditional if you haven’t locked in final mortgage approval or finished an inspection yet. Only go firm once financing and inspection are both confirmed in writing.
Standard offers include five components: purchase price, deposit amount, list of included appliances or fixtures, closing date, and any financing or inspection conditions.
Step 10: Finalize Your Mortgage and Legal Paperwork
This means submitting final documents to your lender and hiring a lawyer or notary to review the purchase contract. Lenders in most countries need at least three weeks to process final paperwork before closing, so build that into your timeline now.
Submit these documents to your lender:
- Proof of income and employment
- Updated bank statements
- Down payment source verification
- Signed purchase agreement
A real estate lawyer or notary reviews the title, confirms there are no outstanding liens, and registers the property in your name after closing.
Step 11: Prepare for Closing Day
Closing day is when ownership legally transfers from seller to buyer: final documents get signed, and remaining costs get paid. Your lawyer or notary coordinates fund transfers between your lender, your bank account, and the seller.
Closing costs usually include legal fees, land transfer tax or stamp duty, title insurance, home inspection fees, and property tax adjustments. Budget 1.5% to 4% of the purchase price for these, depending on your country and province or state.
If you can manage it, do a final walkthrough within 24 hours of closing to confirm the property matches what was agreed in the offer.
Step 12: Post-Purchase Checklist
The tasks that come right after move-in: utility transfers, address updates, and a handful of things people forget. In your first week:
- Transfer electricity, gas, water, and internet accounts.
- Update your address with your bank, employer, and government agencies.
- Change the locks. Previous owners may still hold keys.
- Install or test smoke detectors and carbon monoxide alarms.
- Set up an emergency fund covering three to six months of expenses.
Seasonal Home Maintenance Calendar
Small issues become expensive repairs if you ignore them long enough. Rough schedule to follow:
- Spring: Inspect the roof, clean gutters, and service the air conditioning unit.
- Summer: Check exterior caulking and inspect for pest activity.
- Fall: Clean the chimney, test the furnace, and clear leaves from drains.
- Winter: Check for ice dams, insulate exposed pipes, and test carbon monoxide detectors.
Home Buying Checklist Differences by Country
The core steps stay the same worldwide, but the rules, taxes, and terminology shift by country:
- United States: Uses DTI ratio, requires a buyer-agent agreement since 2024, and bundles title insurance into closing costs in almost every state.
- United Kingdom: Calls it “stamp duty” instead of land transfer tax, and buyers work with a solicitor rather than a lawyer.
- Canada: Uses GDS and TDS ratios instead of a single DTI figure, with mortgage default insurance coming through CMHC.
- Australia: Uses Lenders Mortgage Insurance (LMI) for down payments under 20%, and stamp duty rates vary sharply by state.
- Europe: Down payment requirements run higher for non-resident buyers, and notary fees replace standard legal fees in most countries.
5 Common Mistakes First-Time Buyers Make
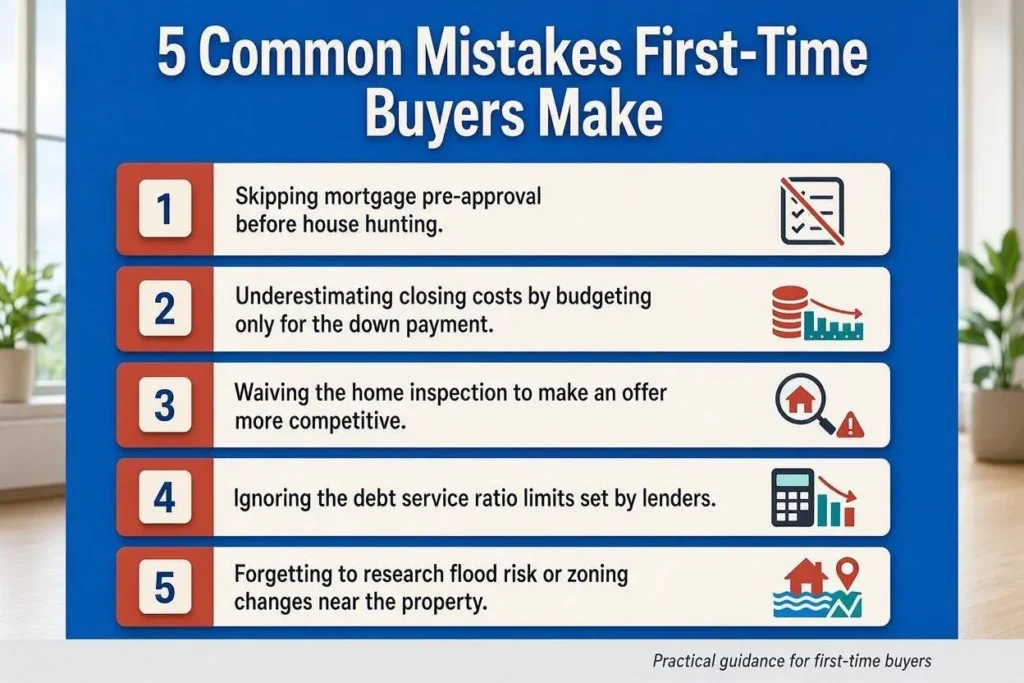
- Skipping mortgage pre-approval before house hunting.
- Underestimating closing costs by budgeting only for the down payment.
- Waiving the home inspection to make an offer more competitive.
- Ignoring the debt service ratio limits set by lenders.
- Forgetting to research flood risk or zoning changes near the property.
Each one costs real money: a few hundred dollars in fees on the low end, tens of thousands in unexpected repairs on the high end.
Conclusion
A home buying checklist works because it forces buyers to solve problems in the right order: finances first, mortgage second, property search third, legal paperwork last. Skip a step and you risk losing a deposit, missing a hidden repair cost, or pushing your closing date back by weeks. Follow the twelve steps here, adjust for your country’s specific rules, and you’ll walk into closing day without surprises.
FAQs

Michael Reynolds
Michael Reynolds leads ImmigrationWin’s immigration, visa, and global mobility content division. He specializes in researching immigration policies, visa requirements, application processes, and international relocation pathways for individuals, families, students, and professionals. With extensive experience analyzing immigration regulations and official government guidance, Michael brings a research-driven approach to complex immigration topics and changing visa policies. He is the primary author of ImmigrationWin’s visa guides, immigration resources, and country-specific content, helping readers better understand their options and make informed decisions about their international journey.
Related Posts